STEP ONE:


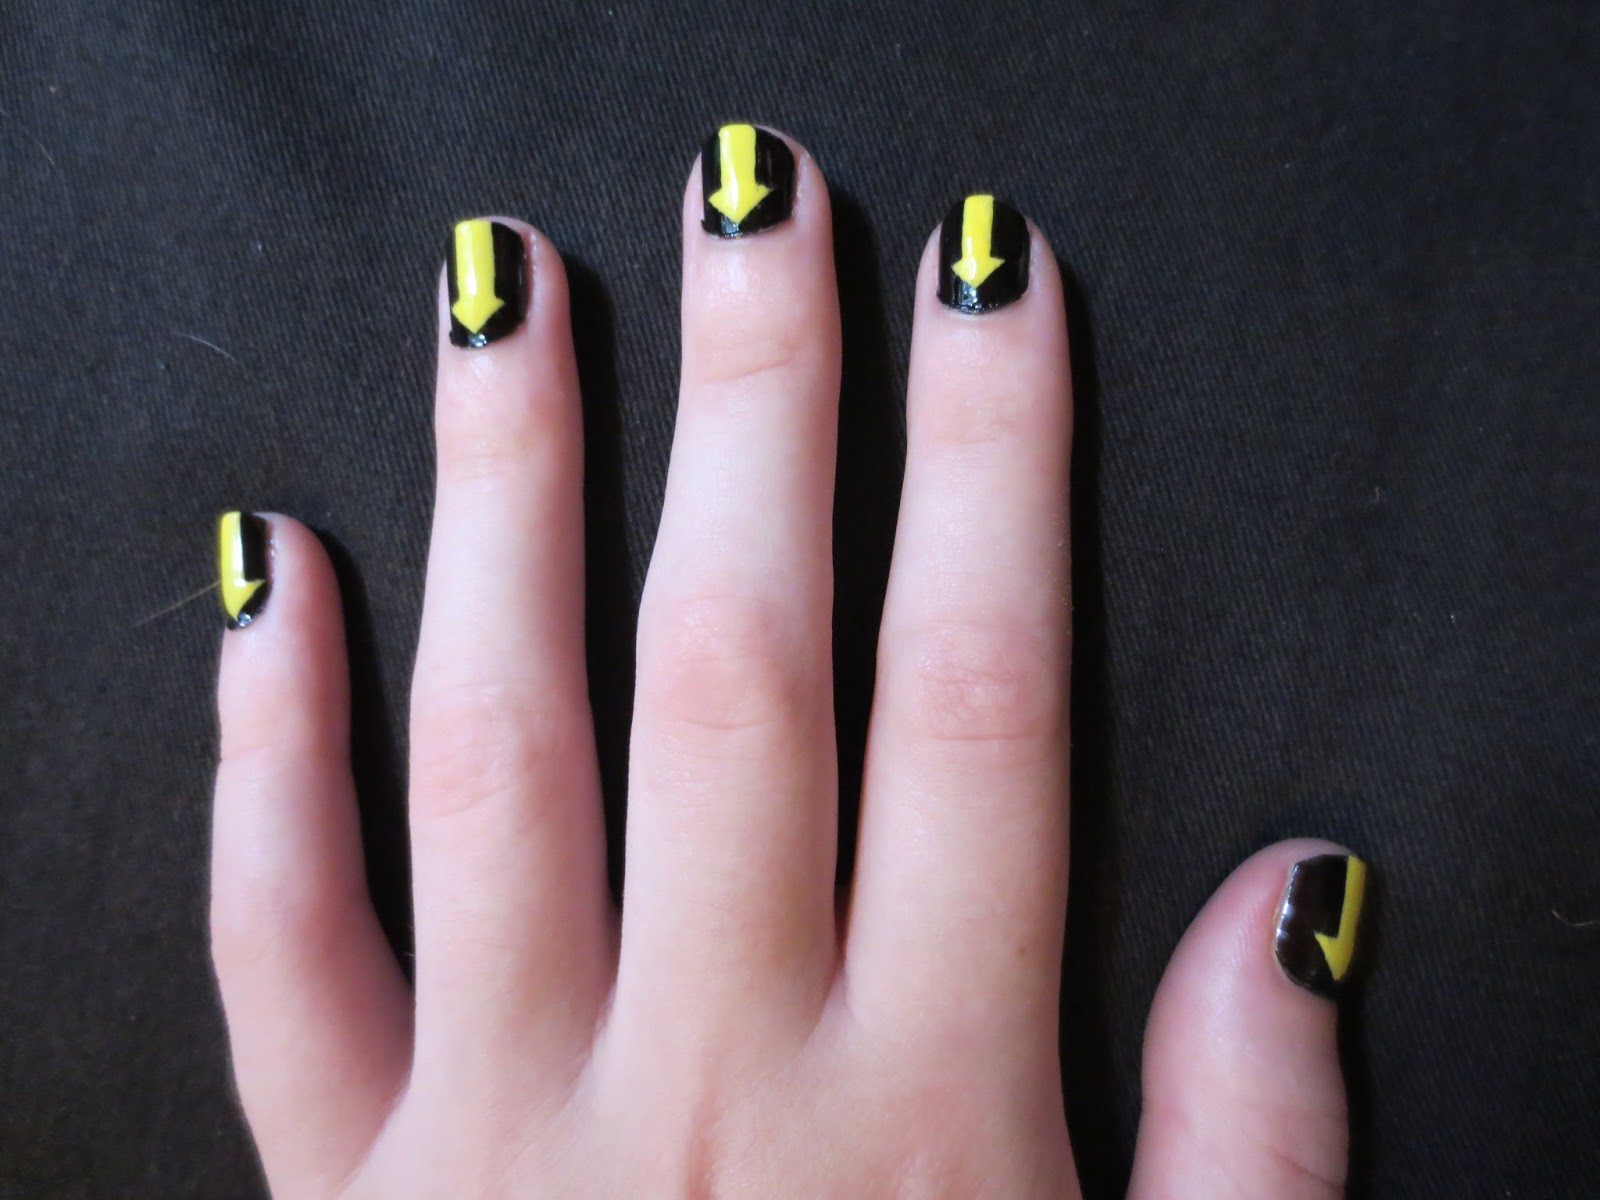
 I'm feeling the holiday spirit today, so naturally, I've decided to make a post on how to create the Homestuck troll nails look. Yeah. If you want to re-create this look, you are going to need yellow, orange, red, and clear nail polish. (Or you can be a moron like me and use orange acrylic paint. Facepalm.) You will also need some tape. Well, let's get started already.

 After your nails are COMPLETELY DRY, tape the top third of your nail over. Then paint orange nail polish over the bottom part. When you are done with this, take the tape off. (If you are like and jumped the gun putting the tape on before they were dry, after you take the tape off, you can always retouch the yellow.)


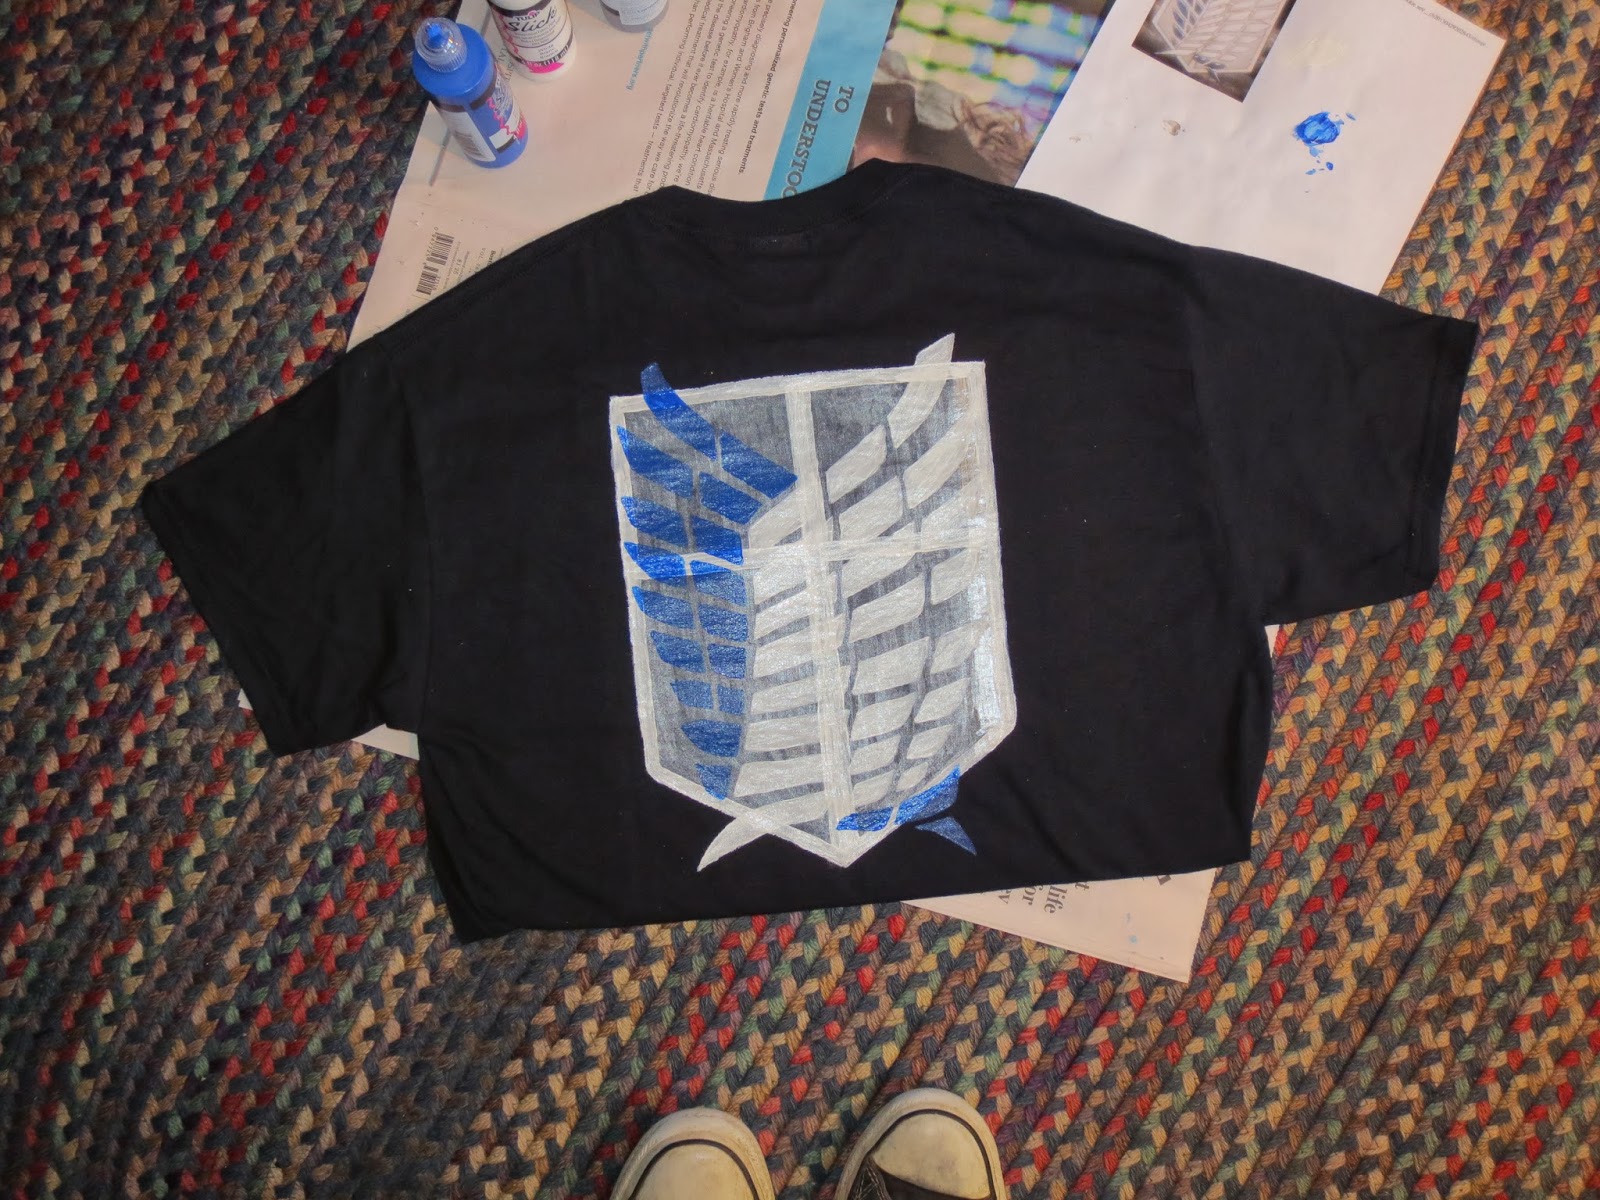
 Hello again! I bring you more Fullmetal Alchemist themed shoes. This time around, they are more closely themed with the character Pride. I've made converse with Flamel symbols on them (Click Here to See) and flats with manga pages from Fullmetal Alchemist on them (Click Here to See) but now I bring you converse painted with shadows! All I did was use some fabric paint on some old shoes to achieve this dorky and amazing look. Hope it was worth a look. MadDog out!


 HELLO!!! I'm sorry sorry I haven't posted in a while--I'm in the middle of tech week and the show I'm in is going up tomorrow night! The only reason I even have something to post right now is because we try to advertise at my school by dressing up weirdly. Today was Nerd Day so I ended up casual cosplaying as Misty (from Pokémon). Just thought you might enjoy. As soon as my life is back in order, I will post new stuff--I'm so sorry guys. (Also sorry if this post makes no sense. And the fact that this picture was taken in my school's bathroom. D: Yeah.) I don't own a solid yellow shirt so, as you can see, this is my drum major academy shirt turned inside-out. I'm wearing the tights not because Misty wears black tights but because, I don't know about wear you live, but here in Massachusetts, it is fracking cold. Well, that's about it. MadDog out!
 So this is my friend, Kristen, as Rosie the Riveter. You know, you can look this awesome too if you casual cosplay. Hey, use Halloween as an excuse to cause that's coming up (is it really?). And back to working on my Seras cosplay. Hope you enjoyed this ridiculously short post. MadDog out!
 Well, drum roll please! I have decided who I'm going to cosplay as from Attack on Titan (finally). It was up in the air for a bit there but I will be cospalying as Levi. I'm fairly certain that this cosplay is going to be my Friday cosplay for Anime Boston (don't worry, I'm still making a Devit but he will be one of the other two days) and I will hopefully be going with a ton of people. Right now I also have and Armin, Hanji, and Sasha in my group but it is my plan to add more people. Hey, if you haven't seen Attack on Titan, you should (it's even is available on Crunchyroll!). Here is a picture what Levi looks like anyway. MadDog out! :D


 Hello people! As you may have guessed, I am a strong supporter of casual cosplay as I love being a complete dork (gasp). But who wants to only see me casual cosplay over and over again. So I'm going to show you some other people casual cosplaying (probably just my friends). This first "Other People Everyday Cosplay" is of my friend, Nathan, as Soul Eater Evans (from Soul Eater). Still busy as ever but thought you might enjoy this little post. MadDog out!
 So more progress on 3D maneuver gear. I've tried to add a weathered effect by dry brushing some acrylic paint on to the boxes. Also, tried to cover up some the crappy wrinkles that I inflicted upon my boxes. Yup. That's about it. More posts on sewing progress soon. (I've almost made a post-worthy amount of progress on things.) MadDog out!
 So! I've spray-painted my 3D Maneuver gear. It is definitely not my best spray painting job (and by not my best, I mean my worst ever--everything is all wrinkly because I spaced out and sprayed way too much on). But that's alright because the boxes already didn't look the best to begin with. I plan on making a more sturdy and better version of these later in life but right now I don't have the time to put much effort into them. Just a quick update: I'll let you know I have been working on other cosplay related things but nothing picture worthy (just cutting out fabric and stuff). Also, most of my time is being used up with making birthday presents for my friends. When their birthdays have come and gone, I'll post some of the stuff I've made for them because it's dork related so you all might be interested. That's about it. MadDog out!
 So hello again! (Two posts in one day--what?! MadDog... Are you feeling well?) Well, I was gonna wait to show you my progress on my 3D maneuver gear as I have done almost nothing but then I decided I'd just post now instead of doing a collective post. Because I'm lazy. Well, that and I'm basically stinking at school in general right now so I'm not sure when my next cosplay work time will be (as I will be cracking down on myself for a bit). All I've done since my last post is wood putty and sand down the edges of my two box things. Here are some pictures. I can't do anything else until I buy some silver spray paint and more foam board but hopefully I'll have those things soon. MadDog out!

 So. Schools started. This means that there is excessive amounts of sitting down. I cannot say that I'm really enjoying the excessive amounts of sitting down and the thought of sitting at my sewing machine for hours after sitting at desks for hours isn't exactly thrilling me. Instead of being in a sewing mood I'm in more of a prop-making mood. This brings me to my next little project. I've wanted to make three dimensional maneuver gear since Attack on Titan started airing just because it looked so flipping cool to make but it's been a while. Even so, I'm finally going to make an attempt at making it. I may not make a complete Attack on Titan cosplay for a long while but I really want to make three dimensional maneuver gear anyway so I am. That's all I have to say on that. So...Yeah. Basically all of done so far is make some boxes out of foam board so that's all I'm showing you for now. MadDog out!
 Well, while I was in the process of making these pants it occurred to me (and by occurred to me I mean my friend pointed it out to me) that although I keep calling them pants, I don't really know what to call them. If you have any ideas, leave a comment or feel free to send me an email (wickedcosplay@yahoo.com). I would like to hear your thoughts.
 STEP TWO:


 STEP FIVE: